 |
The road to hell is paved with works-in-progress. Philip Roth (b. 1933), Writer. New York Times Book Review (15 July 1979). |
||
|
MAIN
MAPS MOVIES
|
|||
|
Making a Symbol |
|||
|
A Symbol is just a small Drawing. There are some requirements as to Layers, and Entities that need to be followed to make sure the Symbol behaves in a predictable way with other similar Symbols. Those rules can be found in the Symbol Construction How to... here in the Tips section. For Symbols, I like to start with a Blank Template. When I say Blank, I mean Blank. I use the Blank Catalog Template from the Maps Template Folder. I use the one Appropriate for the Symbol I am going to make. (In this case it is Blank Map Catalog.FCT)
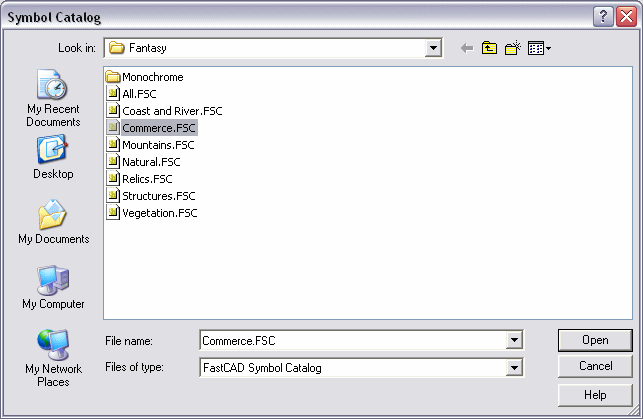
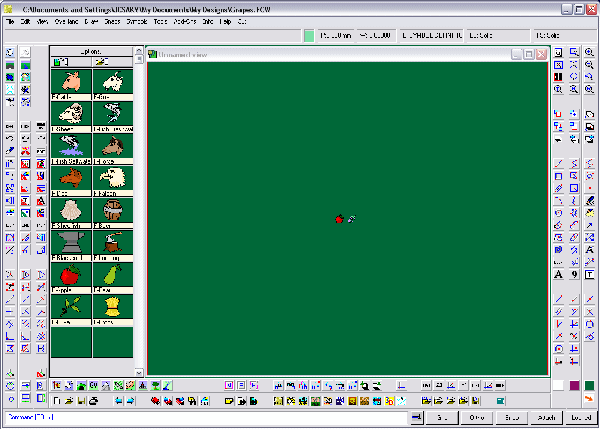
The first thing I do is insert a Symbol from an existing Catalog for Scale. In this case we are doing a quick Vineyard Symbol that I need for a project. I open the Fantasy Catalog of Economic Symbols (This is from SS1 I believe, but you can use the regular Commerce Catalog even though there is already a Grape Symbol, we will be making a different one.)
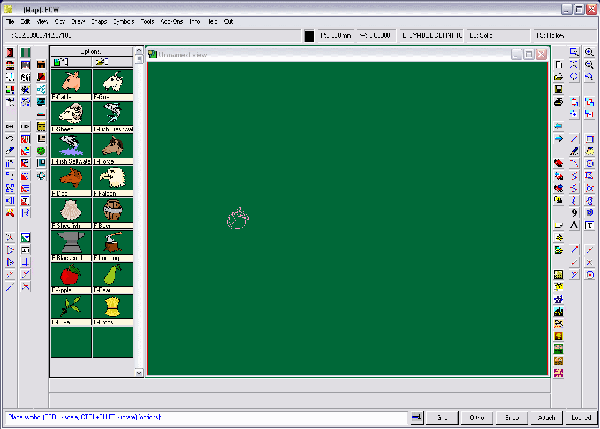
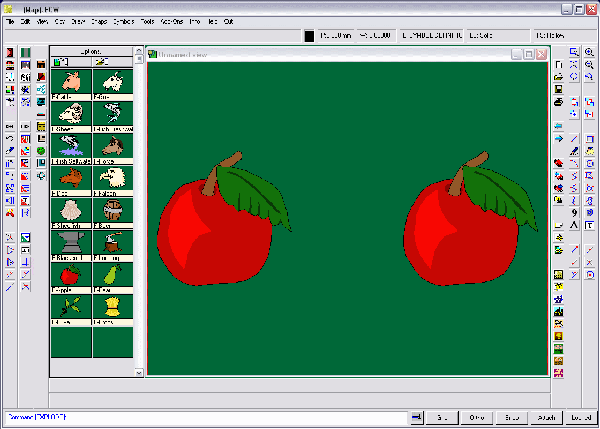
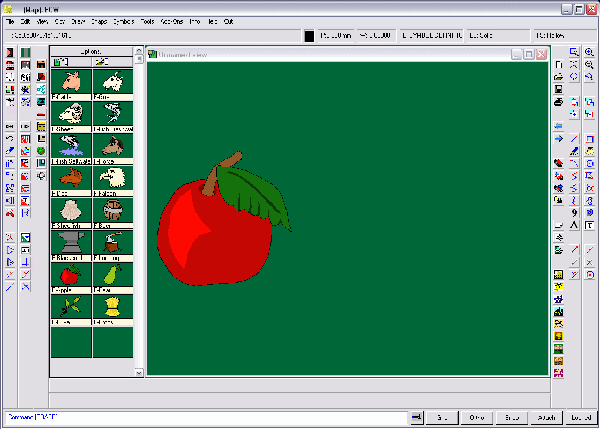
Insert the Symbol for Scale, then Explode the Symbol. (This is my Keep It Clean as you go method!) Notice I inserted a second one and Zoomed in, that was to give me workspace. After Exploding and Zooming to Extents, one is deleted to make room for the New Symbol.
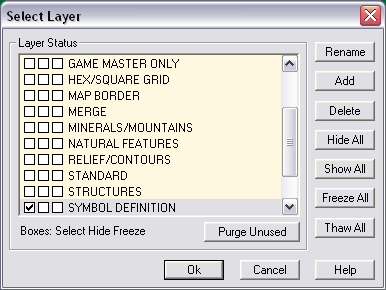
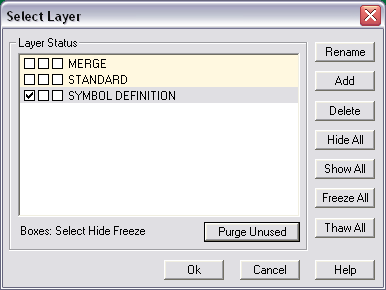
Now we need to get rid of the Old Symbol and get rid of all the extra Layers. Open Layer Dialog and Purge Layers.
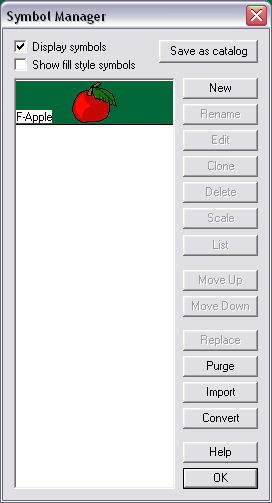
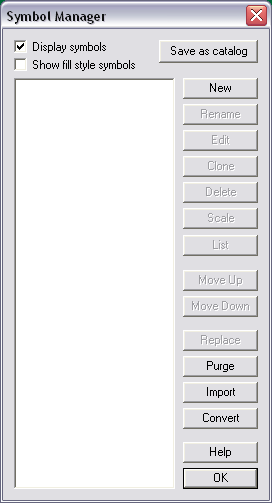
Then Purge the Symbol by opening Symbol Manager and clicking on Purge the symbol should disappear
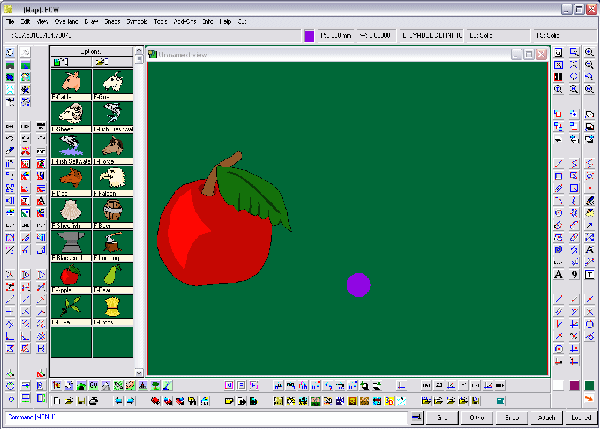
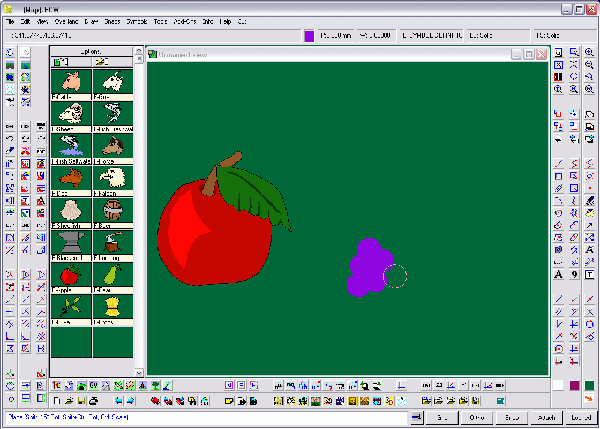
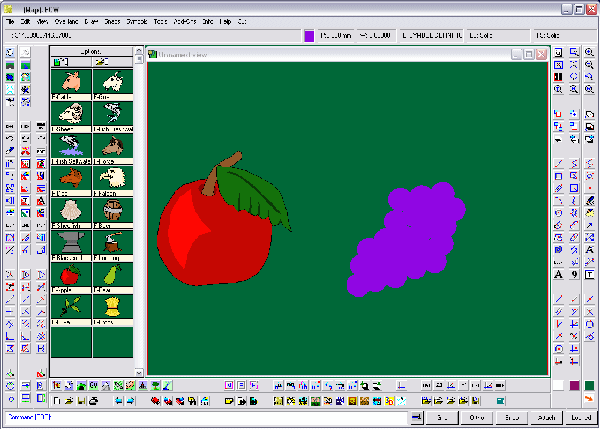
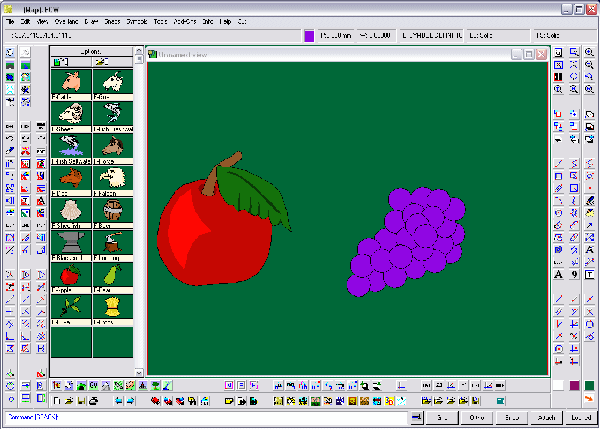
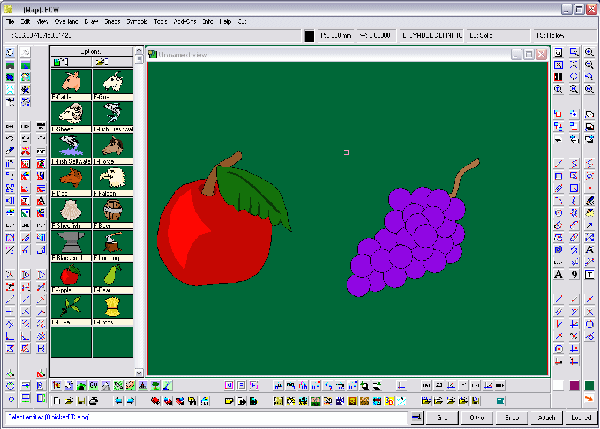
Now to start the Symbol. Remember, it is for a Map, we do not need a lot of detail. In this case I want to copy the Style of the other Symbol, so I examine the look. Black Outline, small Highlight to the left, Leaf detail, and stem. We are going to start with our Grapes. Grapes are easy, they are just circles. First we want to change the Current Color to a dark Purple and the Fill to Solid. (Make sure Line Width is 0 and Line Style is solid.) Confirm the Layer is Symbol Definition as well. Now draw your first Grape using the Circle Command. Now you can use that Grape to make Copies for the Bunch. Select the Copy Command and start adding Grapes to make your Bunch. (I use the Center Point Modifier in conjunction with the Copy Command so I have a little better visualization of the whole outline. It is a preference thing, and not required.) Screen Shots of Grape Construction and Placement.
Now we want to add the Outlines in Black. These next few steps need to be taken in order and continuous, or you may have to start over. Select Copy (or to be safe Copy to Layer and use the Standard Layer!) Select all the Grapes, click OK Do It and copy from 0,0 to 0,0. Now select Change Color and select Prior<important if you are doing this all on one Layer> Click OK Do It and change to Black. Now select Change Fill Style and select Prior to select the Black Copies of the Circles, click OK Do It and change the Fill Style to Hollow. Now we have Outlined Grapes. We need to do this one more time to make the number of Entities on the edge odd so they are visible when placing so we are going to select the Copy Command again and select Prior then OK Do It and Copy from 0,0 to 0,0. We also need to Front and Back the individual Grapes to make the Cluster. The Grapes should be on top from Center Out. I also did not like the gaps, so I added few more and moved a few to cover the gaps. We now have our Cluster of Grapes. Screen Shots of Before and After Entity Order adjustments of Grape Cluster.
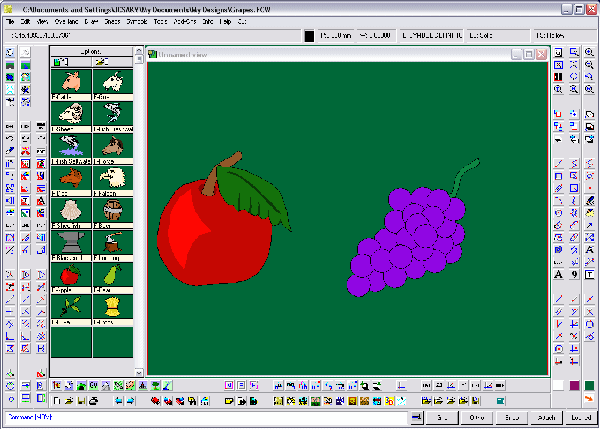
Now to add the Stem and Leaf detail. Using Same As grab the Poly line of the Apple Stem and draw your Stem. Using the same principles of making the Grape Outlines, make the Stem Filled area. After you get the color use the Back Command to Back Prior, selecting the Filled Area. You will also want to Back the Outline. Screen Shot showing Stem.
One problem, I do not like the Brown Color, since Grape Stems are often a green tone, we are going to change the color, by selecting the Stem, and not Color Black changing the color to a dark green. We also need a second Outline of the Stem, so it will show properly when dragged. Using Copy, select the Stem, using the And Modifier select Color and Black then OK Do It and copy from 0,0 to 0,0. You will need to Back the whole stem again making sure that the Fill is behind the Black Outlines. Screen Shot showing New Color for Stem.
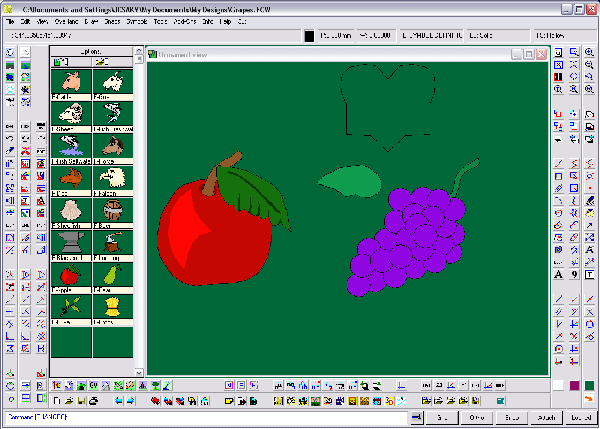
The leaf is a little more complex, but not any more detailed. Decide where the Grape leaf will be, and then draw. You might want to do a little research and find some pictures of Grapes and Grape leaves. I am going to do a simple leaf. The Outline I have is just a simple Leaf to give me an idea. I want mine on top coming off the stem and overlapping some of the grapes. I am going to use a half leaf to achieve this look. After drawing the Outline, I am going to Use Copy to create a section I can Fill with the desired Leaf Color, and add a second Outline to make the number of edge Entities Odd. I am also adding some vein details and some darker color for texture. Now I will move it in place. The last step is to add some highlights to the grapes. This I achieve the same way as I created the texture on the leaf using solid filled small polygons. For the highlights, I will use a lighter purple, maybe three shades from the lightest. I decided to add some highlights to the texture of the leaf and stem as well. Screen Shots showing Leaf Construction. The Black Outline near the Top is a reference for the shape I want. It will be removed soon.
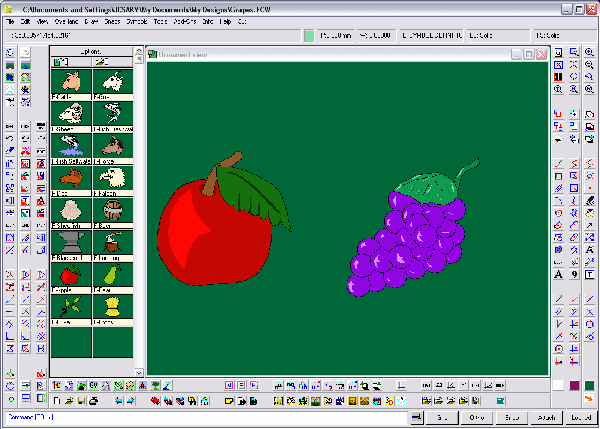
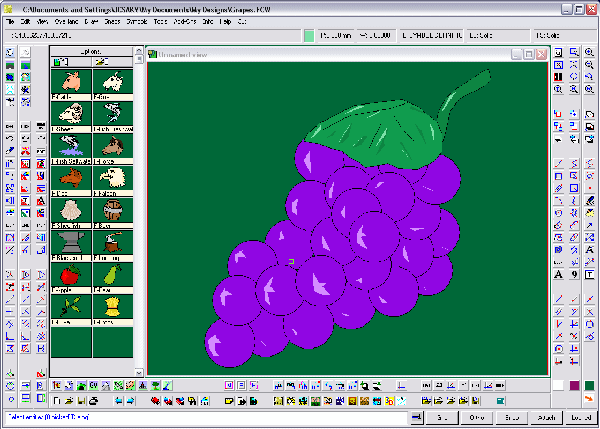
Clean up the extra stuff, but leave the apple for now. Now to check our result. Zoom out! Looks good compared to the apple, but maybe a little too much highlights. Might want to change the color to something darker, I am leaving it be for now. Two Screen Shots to check Drawing.
Now we Zoom back in and get rid of the apple. If you used other Layers, let’s move everything to the Symbol Definition Layer by using Change Layer Command and Selecting all the Entities. Then we are ready to Save our Symbol. Select a name and select an Origin then select all the Entities of the Drawing. When you click OK Do It, the drawing will be Blank. Checking the Drawing Catalog you will see your drawing is now a Symbol. Save the drawing as a Catalog. (If you saved your work as a drawing while you were creating you will need to use the SAVE AS Command and select Catalog for File Type.) Now you should be able to open the Catalog as a Catalog in any drawing and add it to the drawing. You could open an existing Catalog and add this Symbol to the Catalog, or start your own Catalog of Custom Commerce Symbols. Screen Shot with the Drawing before being defined as a Symbol.
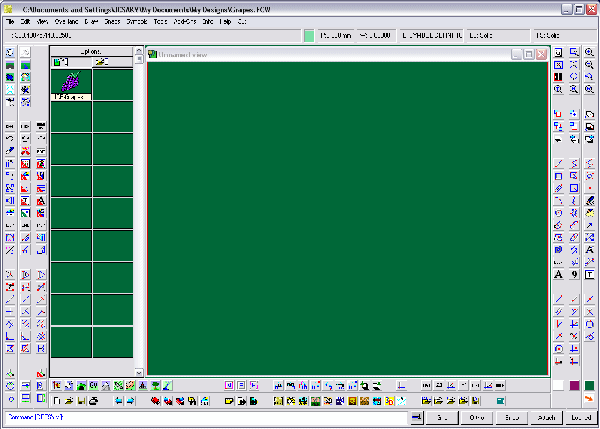
Screen Shot with the Symbol as a Symbol in the Drawing after Defining the Symbol.
Screen Shot with the Symbol as the Current Catalog.
Drop me a line if you have any questions. To
Tutorial 1 : Closed
Stairs |
|||
 |
|
||

